Top Video Editing Tips for Beginners to Create Viral Content
Discover essential video editing tips for beginners to craft engaging videos for TikTok and YouTube. Boost your editing skills today!

From Clunky Clips to Viral Content: Your Editing Journey Starts Here
Video editing can seem like a complex, technical skill reserved for seasoned professionals. The truth is, with the right guidance, anyone can transform raw footage into compelling, shareable content. The gap between a clunky clip and a polished, viral-ready video is often bridged by a few fundamental techniques and a structured workflow. This guide is designed to demystify that process, providing actionable video editing tips for beginners that you can apply immediately to your projects. We will move beyond generic advice and focus on the practical steps that yield professional-looking results.
This listicle breaks down the core pillars of video editing into seven manageable and highly effective tips. You'll learn how to organize your files to prevent chaos, make clean cuts that improve pacing, and master the basics of audio to ensure your message is heard clearly. We will also cover essential skills like color correction to make your visuals pop and understanding export settings to ensure your final product looks great on any platform, from TikTok to YouTube Shorts. To truly embark on your editing journey, it's helpful for beginners to first familiarize themselves with essential video editing terminology.
Whether you are a social media manager aiming for higher engagement, a UGC creator building a portfolio, or a business owner looking to create impactful product videos, these tips will serve as your roadmap. By focusing on these foundational skills, you will not only improve the quality of your current projects but also build a solid base for more advanced techniques later on. Let’s dive into the strategies that will help you edit faster, smarter, and with greater creative confidence.
1. Start with Basic Cuts and Transitions
Before you can create complex, dynamic videos, you must first master the building blocks of editing: basic cuts and transitions. This foundational skill dictates your video’s rhythm, pacing, and overall narrative flow. A well-placed cut can create suspense, deliver a punchline, or seamlessly move the story forward, making it one of the most powerful and essential video editing tips for beginners.
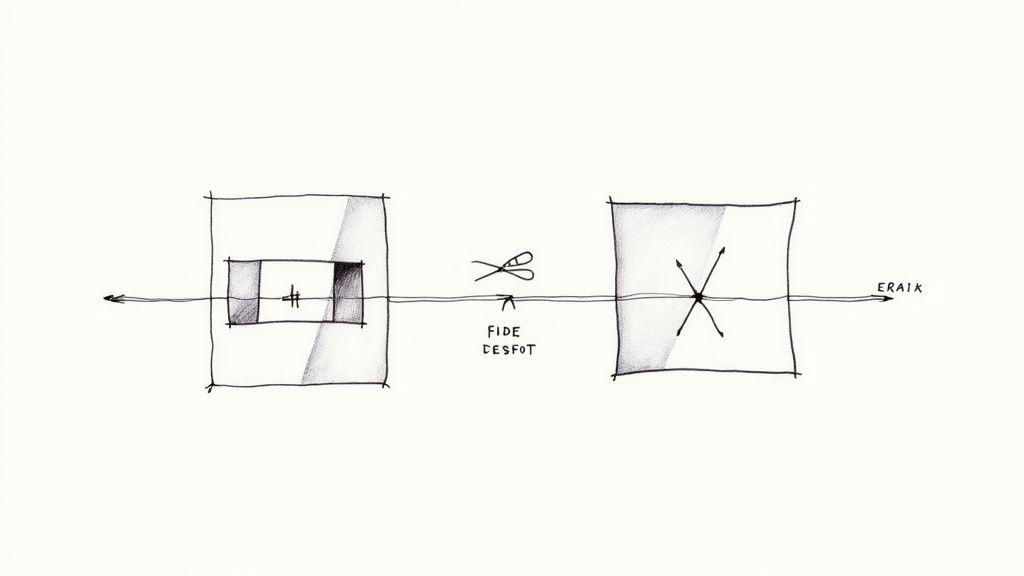
A "cut" is simply the point where one clip ends and another begins. The goal is to make these cuts feel intentional and invisible, guiding the viewer's attention without jarring them. For short-form content on platforms like TikTok or YouTube Shorts, mastering the jump cut, popularized by creators like Casey Neistat, is non-negotiable. This technique involves cutting out small portions of a continuous shot to create a 'jumping' effect, which speeds up pacing and keeps viewer retention high.
Essential Cutting Techniques
To get started, focus on these fundamental cutting styles. Each serves a different storytelling purpose and can dramatically change the feel of your video.
Standard Cut: The most basic cut, where one clip immediately follows another. This is the workhorse of video editing.
Jump Cut: Cutting between two sequential shots of the same subject from a slightly different camera position. It's perfect for tutorials, vlogs, and any content where you need to condense time while maintaining energy.
Match Cut: A more advanced technique where you cut from one shot to another that has a similar shape, action, or composition. Filmmaker Edgar Wright is a master of this, using it for creative and seamless scene changes.
Cross Cut: Cutting back and forth between two or more different scenes happening simultaneously. This builds tension and shows relationships between different actions or characters.
Practical Tips for Clean Cuts and Transitions
Implementing these techniques effectively requires practice. A subtle change can make a huge difference in how professional your final video feels.
Pro Tip: One of the best ways to hide a cut is to "cut on the action." When your subject is performing an action, like opening a door or picking up an object, make the cut during the motion. The viewer's eye follows the movement, making the edit nearly invisible.
Keep your transitions simple and purposeful. A basic dissolve or fade can signal a change in time or location, but overuse of flashy wipes and effects can cheapen your content. For a modern feel, keep transitions extremely short, typically under one second. To elevate your dialogue scenes, practice using "J" and "L" cuts, where the audio from the next clip begins before the video, or the audio from the previous clip continues over the new video. You can discover more advanced techniques by learning about professional video editing.
2. Organize Your Project Files and Workspace
An efficient editing workflow begins long before you import your first clip. Proper file organization is the unsung hero of professional video production, saving you from lost media, wasted time, and overwhelming frustration. A logical folder structure and consistent naming convention are essential video editing tips for beginners that will streamline every project and prevent creative bottlenecks.

This practice is standard across the industry, from post-production houses like Industrial Light & Magic to disciplined YouTube creators who rely on template-based systems to manage high-volume content. Without a system, your project folder quickly becomes a digital junk drawer, making it nearly impossible to find specific assets or hand off a project to a collaborator. A clean workspace allows you to focus purely on the creative aspects of editing rather than searching for a missing sound effect.
Essential Organization Techniques
Adopting a structured approach from the start will pay dividends in efficiency. Your future self will thank you for the clarity and order you establish today.
Create a Master Template Folder: Before starting a new project, create a main folder with subfolders for different asset types. This is a one-time setup that you can duplicate for every new video.
Use Descriptive Naming Conventions: Rename your files with purpose. A common best practice is to include the date (YYYY-MM-DD), project name, and a brief description (e.g.,
2024-10-26_Skincare-Ad_A-Roll_Cam1).Organize Your Timeline: Use tracks in your editing software to separate different elements. For example, place A-roll (primary footage) on track V1, B-roll on V2, text on V3, music on A1, and sound effects on A2.
Utilize Bins and Labels: Inside your editing software, mirror your folder structure using bins (which are essentially folders). Use color labels to visually categorize clips, such as green for good takes and red for unusable ones.
Practical Tips for a Tidy Workspace
A well-organized digital environment is just as important as a clean physical one. Small, consistent habits make a significant difference in your long-term productivity. To keep your editing process smooth and efficient, it's vital to learn how to organize computer files effectively, preventing 'digital chaos' in your video projects.
Pro Tip: For smoother performance, especially when working with 4K or high-resolution footage, create proxy files. These are smaller, lower-resolution copies of your original media that your computer can handle more easily during the editing process. When you're ready to export, the software will automatically link back to the full-quality original files.
Regularly back up your projects to cloud storage or an external hard drive, ideally after each major editing session. Once a project is complete, take a moment to delete unused clips and render files from your project folder to free up valuable storage space. This digital hygiene keeps your system running smoothly and ensures your valuable work is protected.
3. Master Audio Editing Fundamentals
While visual storytelling is key, audio quality often determines the perceived professionalism of your entire video. Viewers are surprisingly forgiving of mediocre visuals if the audio is clear and crisp, but they will click away almost instantly from a video with poor sound. Mastering audio fundamentals is one of the most impactful video editing tips for beginners because it elevates your content from amateur to polished, ensuring your message is heard loud and clear.
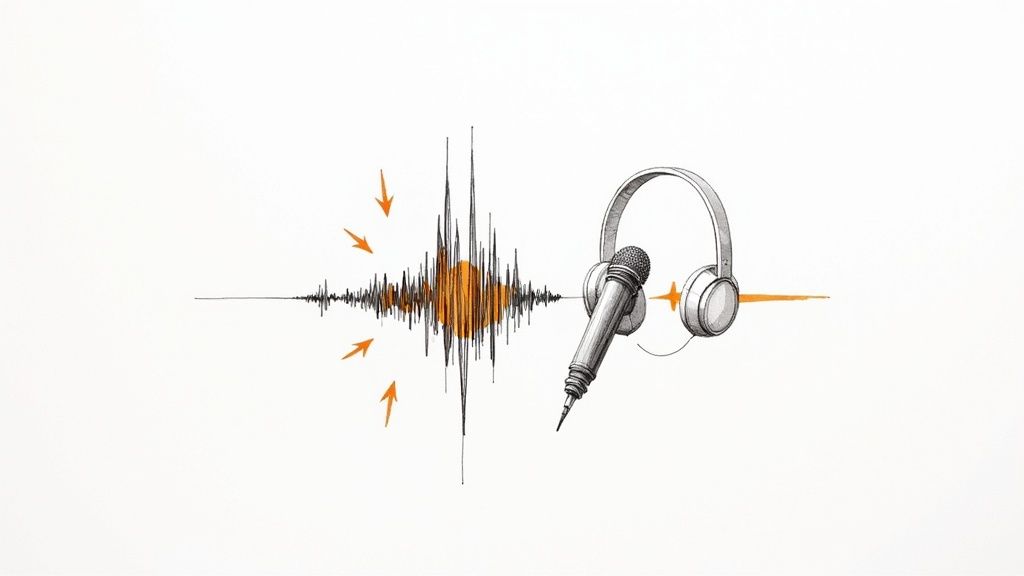
Audio editing involves everything from recording clean dialogue to balancing music, removing background noise, and perfectly synchronizing sound with your visuals. Even simple videos for TikTok or YouTube Shorts benefit immensely from clean audio, as it makes your content more accessible and engaging. Legendary figures like film sound editor Walter Murch have long championed the idea that sound is half the picture, a principle that holds true even in the age of short-form content.
Essential Audio Editing Techniques
Getting started with audio doesn't have to be complicated. Focus on these core techniques to dramatically improve your video’s sound and keep your audience hooked.
Noise Reduction: Use built-in tools in your editing software like Adobe Premiere Pro or DaVinci Resolve to remove distracting background hum, hissing, or fan noise. Many podcast editors use free software like Audacity specifically for its powerful noise removal capabilities.
Level Balancing: Your audio levels should be consistent. Dialogue should be clear and present, while music and sound effects should support the visuals without overpowering the main audio.
Equalization (EQ): EQ allows you to adjust the frequencies of your audio. You can use it to reduce a booming, bass-heavy voice or add clarity and presence to a muffled recording.
Compression: A compressor reduces the dynamic range of your audio, making the quiet parts louder and the loud parts quieter. This results in a more even, professional-sounding track that is easier for viewers to listen to, especially on mobile devices.
Practical Tips for Clean and Clear Audio
Applying these techniques correctly is what separates good audio from great audio. A few simple habits can make a significant difference in your final product.
Pro Tip: Always record about 10-15 seconds of "room tone" before you start speaking. This is a recording of the silent ambient sound of your room. You can use this sample in your editing software to effectively identify and remove background noise from your dialogue tracks.
To maintain professional standards, always monitor your dialogue levels so they consistently peak between -12dB and -6dB. Use headphones instead of speakers for editing, as they reveal subtle imperfections you might otherwise miss. Organize your timeline by placing dialogue, music, and sound effects on separate tracks. This non-destructive workflow makes it far easier to adjust individual elements without affecting the entire mix.
4. Learn Color Correction and Basic Grading
Color is a powerful storytelling tool that can instantly elevate the perceived quality of your videos. It's the difference between amateur footage and professional-looking content. Learning color correction and basic grading involves adjusting the colors in your video to fix issues and to create a specific mood, making it one of the most impactful video editing tips for beginners.
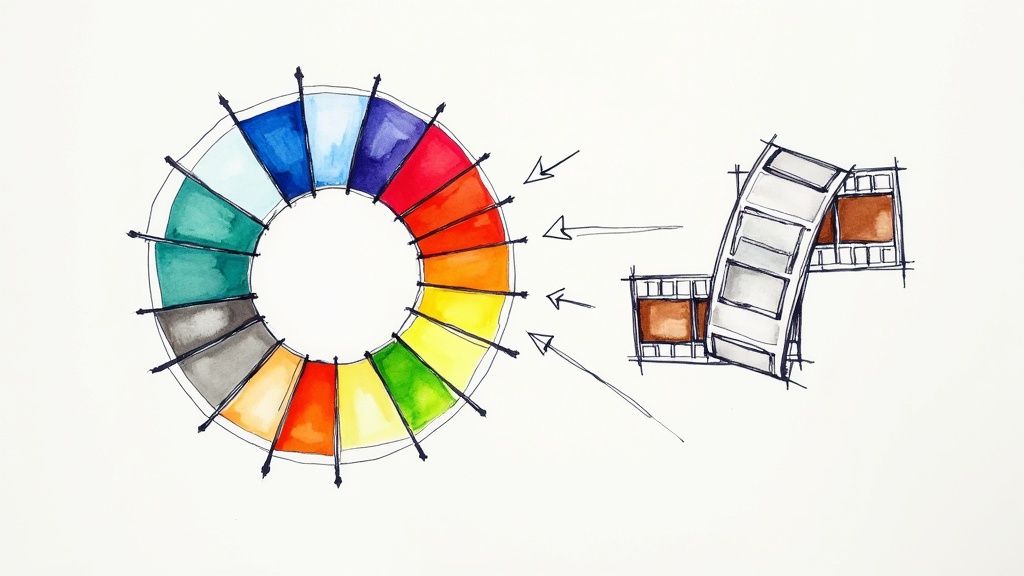
This process is broken into two key stages. Color correction is the technical step of fixing problems to make your footage look natural and consistent. This means correcting exposure (how bright or dark the image is), white balance (ensuring white objects appear truly white), and contrast. Color grading is the creative step that follows, where you apply a specific look or style to evoke an emotion or establish a brand identity, much like how Instagram influencers use signature LUTs (Lookup Tables) to create a cohesive feed.
Essential Color Correction & Grading Techniques
To get started, it's crucial to understand the difference and the proper workflow. Think of it as building a house: correction is the foundation, and grading is the interior design. You must have a solid foundation before you can start decorating.
Color Correction: The first step. Your primary goal is to create a neutral, balanced image. Adjust exposure, contrast, and saturation so that your footage accurately represents reality. This is also where you match clips shot on different cameras or in varying lighting conditions to look seamless.
Color Grading: The creative phase. Here you can apply a stylistic look. For example, using a warm, orange-and-teal grade for a cinematic travel vlog or a desaturated, high-contrast look for a dramatic short film.
Using LUTs: Lookup Tables (LUTs) are preset color profiles that you can apply to your footage to quickly achieve a specific grade. Many creators offer free or paid LUT packs, which are excellent for experimenting with different styles.
Scopes and Histograms: These are technical tools within your editing software (like Lumetri Scopes in Adobe Premiere Pro) that provide objective data about the color and light in your video. Relying on scopes instead of just your eyes ensures accuracy, as your screen's calibration might be off.
Practical Tips for Better Color
Implementing these techniques correctly requires a disciplined approach. Small, subtle adjustments often have the biggest impact on the final look and feel of your content.
Pro Tip: Always perform color correction before color grading. Applying a creative look to poorly balanced footage will only amplify its problems, like crushed blacks or blown-out highlights. Correct first, then get creative.
Start with minor adjustments and build them up gradually. A common mistake is pushing saturation or contrast too far, which results in an unnatural, over-processed look. When working on a scene with multiple shots, pick one "hero" shot, perfect its color, and then use it as a reference to match all other clips. This creates the visual consistency that separates professional content from amateur videos. Software like DaVinci Resolve offers industry-leading color tools for free, making it easier than ever to learn this essential skill.
5. Understand Frame Rates and Export Settings
While creative edits are crucial, the technical settings you choose can make or break your final product. Understanding frame rates and export settings is an essential technical skill that ensures your video looks professional, smooth, and is optimized for its intended platform. Getting these settings right from the start prevents quality loss and playback issues, making it one of the most important video editing tips for beginners to master.
Frame rate, measured in frames per second (fps), dictates how motion is perceived. A higher frame rate captures more individual images per second, resulting in smoother motion, which is ideal for fast-paced action or slow-motion effects. Export settings control the final video's quality, file size, and compatibility. Choosing the correct settings, like codec and bitrate, ensures your video looks sharp on YouTube, Instagram, or TikTok without taking forever to upload.
Essential Frame Rate Standards
Choosing the right frame rate sets the entire mood for your video. Each standard is used for a specific purpose, from cinematic film to high-action gaming content.
24fps: The standard for movies and cinematic content. It provides a subtle motion blur that our eyes associate with a film-like, narrative feel.
30fps: Commonly used for live TV broadcasts and standard web video, including vlogs and tutorials. It offers a clean, realistic look that is a safe bet for most online content.
60fps (and higher): Perfect for capturing fast-moving subjects like sports or video games, as it provides incredibly smooth motion. It is also the go-to for creating silky-smooth slow-motion clips when slowed down in post-production.
Practical Tips for Optimal Exporting
Exporting your project correctly is the final step to preserve all your hard work. The right settings ensure maximum quality and platform compatibility.
Pro Tip: Always match your project's frame rate and resolution to your primary source footage. If you filmed most of your clips at 30fps in 1080p, your timeline and export settings should also be 30fps and 1080p to avoid stuttering or quality degradation.
For most web-based platforms like YouTube, TikTok, and Instagram, the H.264 (or AVC) codec is the universal standard, offering a great balance between quality and file size. When setting your bitrate, a variable bitrate (VBR) is often best for keeping file sizes manageable while maintaining quality during complex scenes. Always do a short test export to check the quality on your phone or target device before committing to the final, full-length render. This small step can save you from having to re-export a long video.
6. Plan Your Edit with Storyboards or Shot Lists
Jumping straight into your editing software without a plan is a recipe for wasted time and a confusing final product. Planning your edit with a storyboard or a shot list is a crucial step that separates amateur content from polished, professional videos. This pre-production work acts as a blueprint, organizing your thoughts, identifying missing footage early, and transforming the editing process from a chaotic puzzle into an efficient assembly line.
A shot list is a simple checklist of every shot you need to capture, while a storyboard is a sequence of drawings representing the shots you plan to film, complete with notes on dialogue or action. Legendary directors like Alfred Hitchcock and Walt Disney meticulously planned every single frame, ensuring maximum efficiency and creative control. For short-form content creators, this practice is equally vital for crafting a tight narrative and a compelling visual hook in the first few seconds.
Essential Planning Techniques
Even a simple plan can drastically improve your workflow. You don't need to be an artist; the goal is clarity, not a masterpiece.
Shot List: The most straightforward method. Create a simple document listing each scene, the type of shot (e.g., wide, close-up), the action, and any necessary B-roll. This is perfect for tutorials, product demos, or vlogs.
Storyboard: Visualize your video shot-by-shot. Sketch rough thumbnails for each key moment. This helps you think about composition, camera movement, and the overall visual flow of your story.
Scripted Outline: For dialogue-heavy videos, write out your script and add notes for visuals in the margins. For instance, next to a line about a product feature, you might note: "Cut to extreme close-up of the feature."
Three-Act Structure: Even for a 30-second TikTok, thinking in terms of a beginning (the hook), a middle (the value/story), and an end (the call-to-action) provides a solid narrative foundation.
Practical Tips for Effective Pre-Production
Integrating this planning phase will save you hours of frustration in the editing timeline. It ensures you have all the content you need before you even import your first clip.
Pro Tip: Before you start editing, lay out all your planned shots on the timeline in order. This is called an "assembly cut." Watch it through to check the pacing and story structure before you start refining individual cuts, adding effects, or adjusting audio. This macro view helps you spot major issues early on.
Start by defining your video's hook and its call-to-action. What will grab the viewer's attention, and what do you want them to do at the end? List every piece of B-roll you'll need to visually support your main points. This preparation is a fundamental skill for anyone looking to make content creation a serious endeavor. You can explore more about what it takes by learning how to get started as a content creator.
7. Use Keyboard Shortcuts and Efficient Workflows
One of the biggest distinctions between a beginner and a professional editor is speed, and nothing accelerates your editing process more than mastering keyboard shortcuts. Relying on your mouse to click through menus for every single action is slow and inefficient. By developing an efficient, keyboard-centric workflow, you can reduce your editing time by 50-70%, allowing you to produce more content faster and avoid creative burnout.
A workflow is simply the series of steps you consistently take to complete a project, from importing footage to exporting the final video. Integrating keyboard shortcuts into this process turns repetitive tasks into split-second muscle memory. This is non-negotiable for creators on fast-paced platforms like TikTok and YouTube Shorts, where the ability to edit and upload quickly can make the difference between catching a trend and missing it entirely. Systems like Adobe Premiere Pro and Final Cut Pro were designed with these high-speed, customizable workflows in mind.
Essential Shortcuts to Learn First
Every editing software has hundreds of shortcuts, but you don’t need to learn them all at once. Start with the most fundamental commands that you use constantly.
Playback Controls:
J(rewind),K(pause), andL(fast-forward) are universal for shuttling through footage. PressingJorLmultiple times increases the speed.Cutting Tools: The
Ckey for the "Cut" or "Blade" tool and theVkey for the "Selection" tool are your primary editing instruments. Switching between them with your keyboard is far faster than clicking.Ripple Delete: Often mapped to a key like
Shift + DeleteorQ/Win Premiere Pro, this command deletes a clip and automatically closes the gap, saving you a manual step.Adding Edits: A shortcut to add a cut to all clips under the playhead (
Ctrl/Cmd + K) is a massive timesaver for syncing footage or cutting to a music beat.
Practical Tips for Building a Faster Workflow
Developing speed is about building consistent habits. Dedicate a small amount of time each day to practicing, and you will see dramatic improvements in weeks.
Pro Tip: Start by mastering just 5-10 of the most common shortcuts. Print out a "cheat sheet" for your software and tape it next to your monitor. For 10 minutes before each editing session, practice only using those shortcuts until they become second nature.
Once you are comfortable with the defaults, customize your shortcuts to fit your unique needs. If you frequently use a specific effect or transition, map it to an easy-to-reach key. By optimizing your tools and workflow, you can focus your energy on the creative aspects of storytelling. Streamlining your process with the right keyboard commands and some of the best content creation tools on virlo.ai will make your editing feel less like a chore and more like a creative flow state.
7 Key Video Editing Tips Comparison
Item | Implementation Complexity 🔄 | Resource Requirements ⚡ | Expected Outcomes 📊 | Ideal Use Cases 💡 | Key Advantages ⭐ |
|---|---|---|---|---|---|
Start with Basic Cuts and Transitions | Low | Low (basic editing software) | Improved video flow and pacing | Vlogs, documentaries, music videos | Foundation of video editing; easy and widely available |
Organize Your Project Files and Workspace | Medium | Moderate (time and discipline) | Efficient workflow, reduced file loss | Projects of all sizes, team collaborations | Saves time, reduces stress, prevents file loss |
Master Audio Editing Fundamentals | Medium | Medium to High (software/plugins) | Enhanced perceived video quality | Podcasts, films, professional YouTube content | Elevates video quality; essential for engagement |
Learn Color Correction and Basic Grading | Medium to High | Medium (processing power, tools) | Professional polish and creative visuals | Narrative films, branded content, social media | Fixes camera issues; enables visual storytelling |
Understand Frame Rates and Export Settings | Medium | Low to Medium (technical knowledge) | Optimized video quality and compatibility | All platforms, especially social media and streaming | Prevents playback issues; balances quality & size |
Plan Your Edit with Storyboards or Shot Lists | Medium | Low (time investment) | Streamlined editing, better narrative flow | Narrative films, corporate videos, structured content | Saves editing time; improves story clarity |
Use Keyboard Shortcuts and Efficient Workflows | Medium | Low (practice time) | Significantly faster editing | Fast-paced editing, live streaming, professional work | Dramatically increases speed and efficiency |
Your Next Step: Turn These Tips into Action
You’ve just navigated a comprehensive guide to foundational video editing, moving from the initial chaos of raw footage to the satisfaction of a polished, final cut. We've covered the essential pillars that separate amateur efforts from professional-looking content. From the clean precision of basic cuts and transitions to the critical, yet often overlooked, art of audio mastering, each tip is a building block in your creative arsenal.
Remember, the journey to becoming a proficient video editor is not about memorizing every feature in your software overnight. It's about internalizing a process. The organizational habits you build today by diligently structuring your project files will save you countless hours of frustration tomorrow. The few minutes you spend creating a shot list before you even press record will translate into a smoother, more coherent story in your final edit. These aren't just isolated tricks; they are components of a powerful, repeatable system.
Key Takeaways for Your Editing Journey
Let's distill this down to the core principles. The most impactful video editing tips for beginners aren't about fancy plugins or expensive gear. They are about control and intention.
Structure is Freedom: A well-organized workspace and a clear plan (like a storyboard) don't stifle creativity; they unleash it. When you aren't hunting for files or guessing what comes next, you have more mental energy to focus on the creative aspects of your edit.
Audio is Half the Story: Never treat audio as an afterthought. Clean, balanced sound can make a good video great, while poor audio can render even the most stunning visuals unwatchable. Mastering levels, reducing noise, and choosing the right music are non-negotiable skills.
Technical Details Matter: Understanding concepts like frame rates, color correction, and export settings is your key to technical quality. This knowledge ensures the vision in your head is the same one your audience sees on their screens, free from jarring motion, washed-out colors, or pixelated artifacts.
Efficiency is a Superpower: The true path to mastering video editing is through practice, and nothing enables more practice than an efficient workflow. Learning keyboard shortcuts is the single most effective way to accelerate your editing speed, allowing you to iterate faster and complete more projects.
Your Action Plan for Immediate Improvement
Reading these tips is the first step, but action is what creates skill. Here’s how you can start implementing these strategies right now to see tangible progress:
Commit to Organization on Your Next Project: Before you import a single clip, create a dedicated folder structure. Make subfolders for footage, audio, graphics, and project files. Stick to this system no matter how small the project seems.
Learn Five Keyboard Shortcuts Today: Open your editing software and identify five actions you perform constantly, like making a cut, trimming a clip, or adding a transition. Look up their keyboard shortcuts and use them exclusively for the rest of the day.
Perform a Basic Color and Audio Pass on an Old Video: Go back to a previous project. Spend just 15 minutes applying basic color correction to balance the whites and blacks. Then, dedicate another 15 minutes to adjusting audio levels and adding a subtle background music track. The improvement will be immediate and motivating.
Ultimately, these video editing tips for beginners are designed to build your confidence and competence. Each organized project, each perfectly timed cut, and each balanced audio track is a small victory that compounds over time. You are building more than just videos; you are building a skill set that is more valuable than ever in our visually-driven world. Embrace the process, stay curious, and keep creating. The more you edit, the more intuitive these practices will become, transforming from a checklist of rules into a natural extension of your creative expression.
Ready to apply these principles with a tool that streamlines the entire content creation process? Virlo helps you find and ride viral trends by turning data into actionable video scripts, making your editing workflow faster and more effective. Discover your next viral hit at Virlo.
See What's Trending Right Now
- Social listening for TikTok, Reels & Shorts
- Spot viral trends before they peak
- Turn insights into ads, scripts & briefs
The Signal Newsletter
Weekly trend breakdowns, creator insights, and social listening tips — straight to your inbox.
Subscribe FreeSee What's Trending Right Now
- Social listening for TikTok, Reels & Shorts
- Spot viral trends before they peak
- Turn insights into ads, scripts & briefs
The Signal Newsletter
Weekly trend breakdowns, creator insights, and social listening tips — straight to your inbox.
Subscribe FreeRelated Articles

20 Tips on How to Make a Video Go Viral on TikTok
Learn 20 practical tips on how to make a video go viral on TikTok. Boost views, engage your audience, and create trending content with ease!
12 Expert Short Form Video Editing Tips
Master short form video editing with 12 expert tips that boost engagement, streamline your workflow, and make every second count.
How to Make Money on Tiktok Without Showing Your Face
Learn how to make money on TikTok without showing your face using simple strategies that work for creators who prefer to stay behind the scenes.
Get The Signal
Join creators, marketers, and agencies getting weekly trend breakdowns and social listening insights delivered free.
Subscribe to the Newsletter
Stop Guessing. Start Knowing.
Join thousands of digital entrepreneurs using data to take the guesswork out of capitalizing on trends.